A useful kitchen remodel checklist puts decisions in the order the work needs them: goals and budget, the layout, the slowest orders, permits and older-home checks, what goes inside the walls, the finishes and the final walkthrough. Most stalled kitchens stall for the same reason: a choice was made after the stage that depended on it.
Below, each stage comes with the decision it requires. At the end, the same items are gathered into a list you can print and carry to every meeting with your contractor.
Start with how you cook, not with finishes
Before tile samples and hardware, write down how the room is used on an ordinary Tuesday. Who cooks, how often, and at the same time as whom? Where do groceries land, where do children do homework, where does the coffee happen?
Then split the list in two: what the new kitchen must fix, and what would be pleasant to have. A second dishwasher, a walk-in pantry or a range big enough for holiday cooking each change the plan in a different way. Knowing which ones are non-negotiable keeps the design honest when the budget conversation starts.
What moves the budget most in a kitchen
Kitchen budgets are shaped less by the size of the room than by a handful of decisions. The ones that move the number most are:
- the cabinetry line and construction (stock, semi-custom or custom built);
- whether the sink, range or refrigerator moves, which brings plumbing, gas, venting and electrical work with it;
- any wall that comes down, especially if it carries load;
- the appliance package and the ventilation it requires;
- countertop material and the number of seams and cutouts;
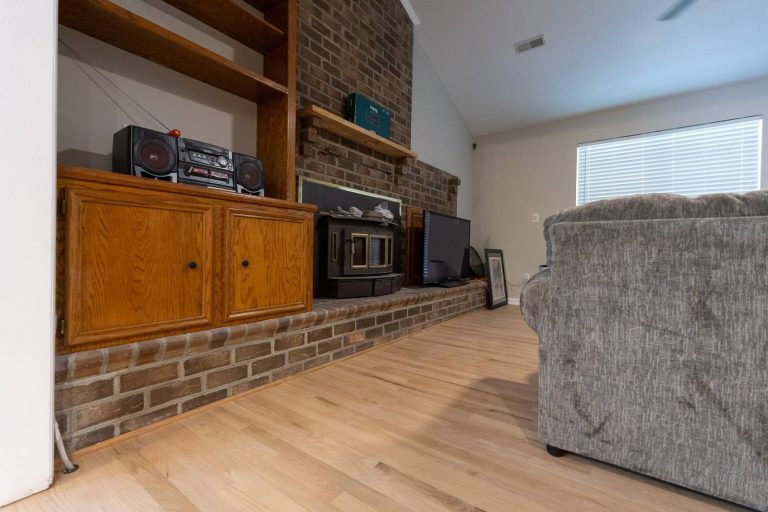
- the age and condition of the house, and what turns up once the old kitchen is gone.
Ask for a proposal that itemizes these, with clear allowances for the selections you have not made yet. That is how we write ours, so that the proposal you sign already shows where the money goes and change orders are documented before any work changes.
Decision point: keep the layout or move the plumbing
This is the first real fork in a kitchen remodel. Keeping the sink, range and refrigerator where they are lets most of the budget go to what you see and touch. Moving them can transform how the room works, but it reaches into floors, walls and sometimes the crawl space.
If the plan opens a wall, settle early whether it is structural. A load-bearing wall can still come out, with a beam sized by an engineer, but that is designed, priced and permitted before demolition. The same goes for a new gas line or a range hood that needs a new path to the outside.
Order the slow items before anyone picks up a hammer
A kitchen is built around a few products that are not sitting on a shelf. Custom and semi-custom cabinetry, specialty appliances, some windows and certain stone slabs can take weeks or months to arrive. The schedule is set by whatever arrives last.
That gives you a simple rule: do not demolish the old kitchen until the cabinets and appliances are ordered and confirmed. Appliance specifications come first, because cabinet boxes are sized around them. Countertops come later; the fabricator templates them once the cabinets are installed and level.
Before demolition: permits, older homes and the rest of the house
A kitchen that changes plumbing, electrical, gas or structure normally needs a building permit from the city, town or county where the house sits. Ask who pulls it, and make sure inspections are on the schedule rather than an afterthought.
If the house was built before 1978, ask about lead paint.
Under the EPA’s Renovation, Repair and Painting Rule, contractors paid to disturb painted surfaces in a pre-1978 home must be lead-safe certified, with their crews trained in lead-safe work practices. In a city with as many older houses as Charleston, it is worth asking at the first meeting.
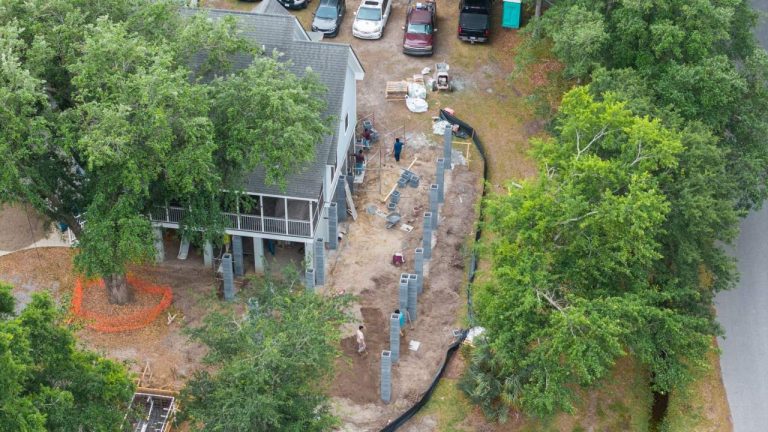
Then plan for living around the work. Set up a temporary kitchen elsewhere, decide which doors and floors get covered, and agree on how the site is left each evening. Our Ridgeville family home renovation was sequenced in phases so the owners could stay in place, with the kitchen saved for a later phase.
Behind the walls: what to confirm before drywall goes up
Once the walls are open, every wire, pipe and duct you will want for the next twenty years has to be in place. Walk the room with your contractor at rough-in and confirm:
- outlet locations along the counters and at the island, and the circuits your appliances call for;
- a range hood or exhaust fan vented to the outdoors, sized for the cooktop you chose;
- lighting in layers: ceiling, task lighting under the wall cabinets, and any accent or pendant lights;
- water and gas stubs exactly where the appliance specs place them, with accessible shutoffs;
- blocking in the walls for upper cabinets, open shelves, a pot filler or a heavy hood.
Ventilation deserves its own line. For gas cooking, the EPA’s guidance on nitrogen dioxide is direct: install and use an exhaust fan vented to the outdoors over gas stoves. Photograph every wall before it is closed. We document our projects with photos each week, and those images are worth keeping long after the kitchen is finished.
Finishes, in the order they go in
The usual sequence after drywall runs like this: flooring (when it runs under the cabinets), cabinet installation, countertop templating and installation, backsplash, then plumbing fixtures, appliances, lighting trim and hardware. Paint touch-ups and adjustments close it out.
Each step depends on the one before. A backsplash cannot be set until the counter is in, and a counter cannot be measured until the cabinets are fixed in place.
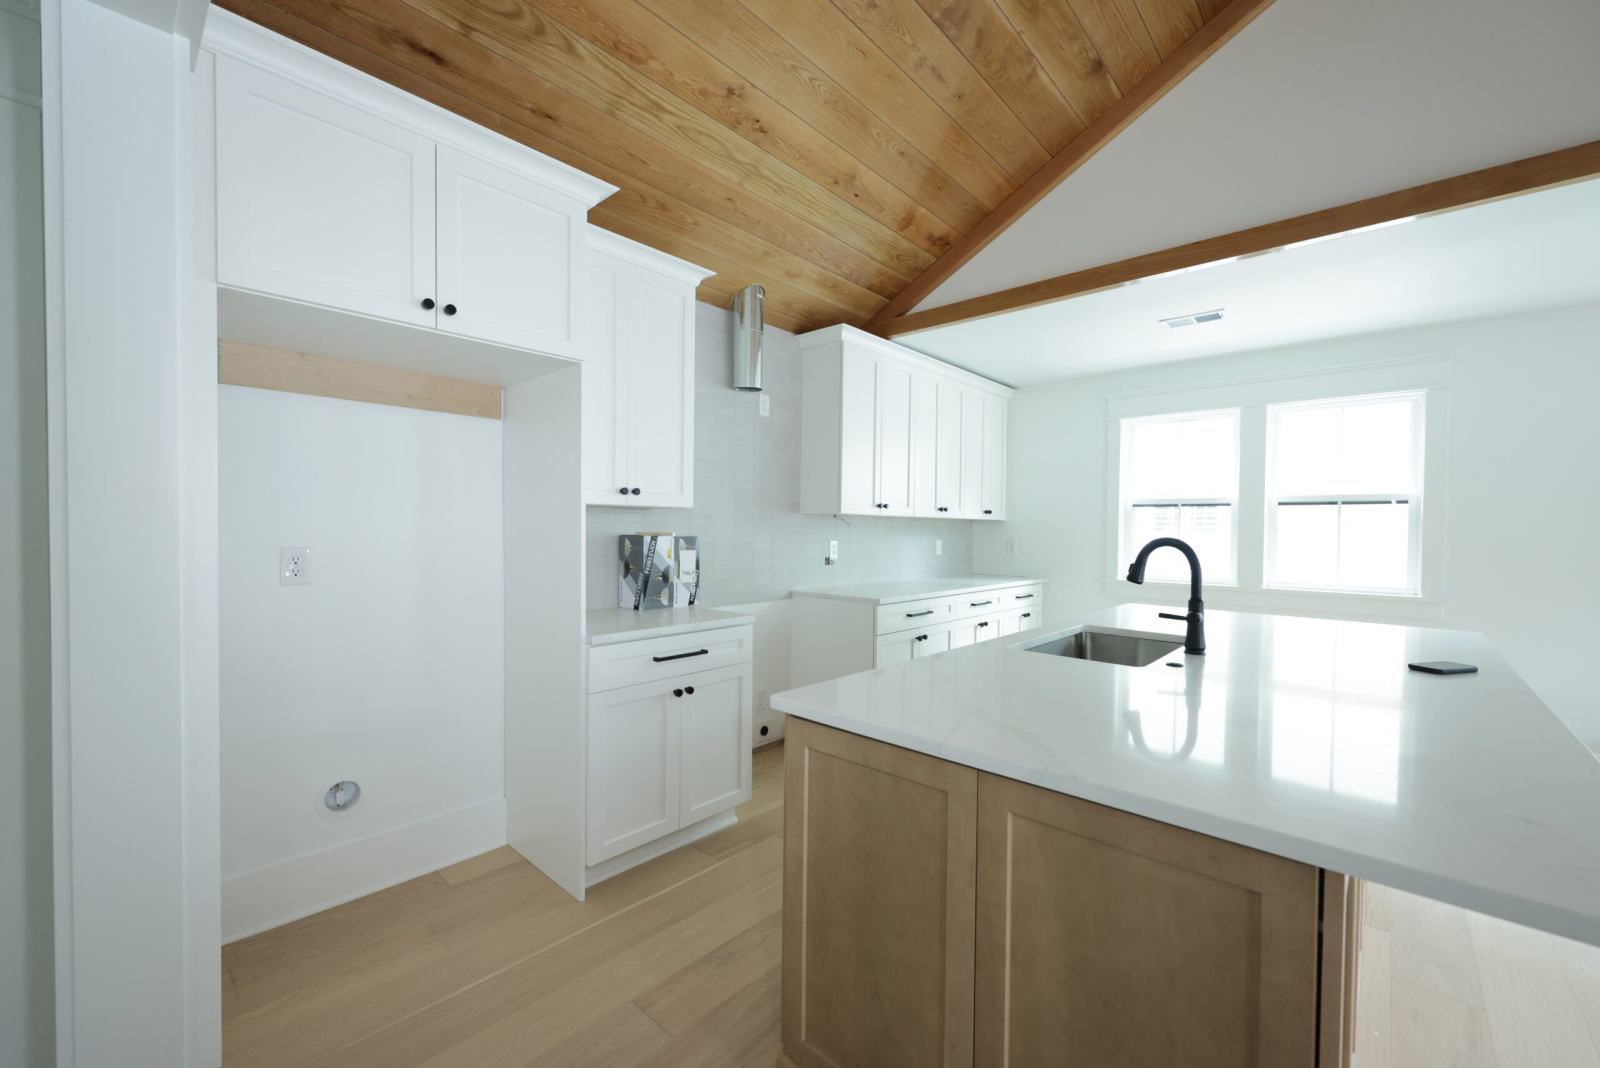
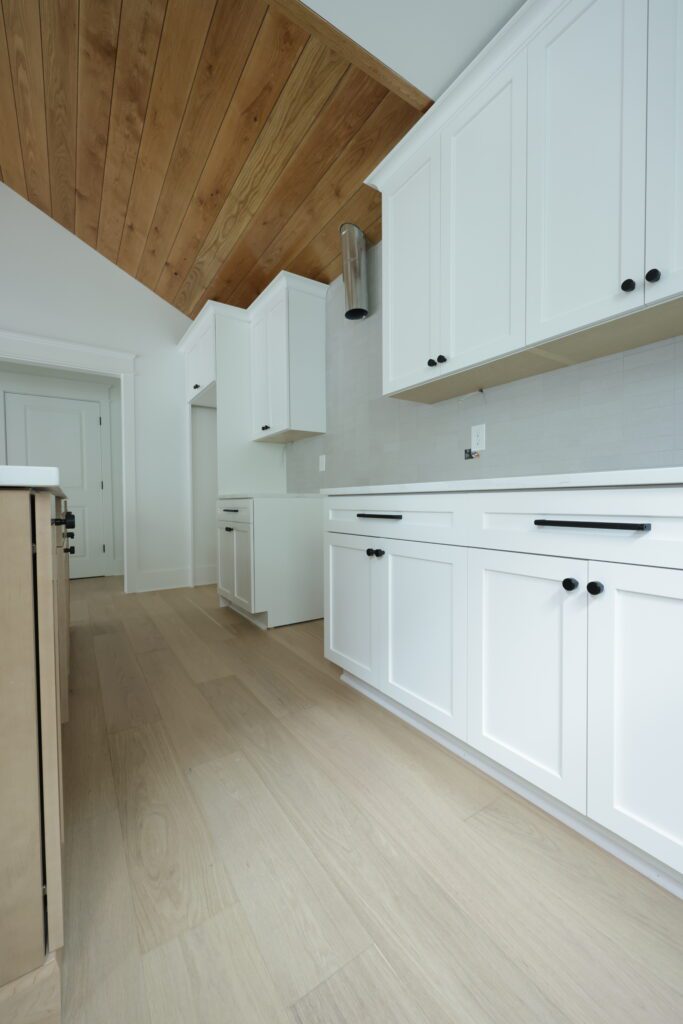
In the Downtown Charleston renovation, the kitchen pairs full-overlay white shaker cabinets with a natural-oak island topped in book-matched Calacatta quartz, under a cathedral ceiling finished in tongue-and-groove cypress. Choices like these are easiest to make well when they are made early, while cabinet drawings are still open.
If you are still choosing between stone and engineered surfaces, decide before cabinets are ordered. Edge profiles, sink type and overhang depth affect the cabinet drawings too.
The walkthrough and the final payment
Before the last payment, walk the kitchen with your contractor and write down every item that still needs attention: a door that rubs, a scratch on a panel, a caulk line, an appliance that has not been tested under load. That punch list is the contractor’s to finish.
Ask for the appliance manuals, warranty registrations, paint colors and product names in one place. Our own handover includes a final walk-through, the punch list and warranty documents, and the last payment waits until you are satisfied with the finished kitchen.
Your kitchen remodel checklist, ready to print
Planning
- ☐ How the kitchen is used day to day, written down
- ☐ Must-fix problems separated from nice-to-haves
- ☐ Budget range set, with a reserve for what older homes hide
- ☐ Contractor’s South Carolina license and insurance confirmed
Design and ordering
- ☐ Layout decided: keep or move sink, range, refrigerator
- ☐ Structural question answered for any wall that comes out
- ☐ Appliance models and specifications chosen
- ☐ Cabinets drawn around the appliances and ordered
- ☐ Proposal itemized, with allowances for open selections
Site preparation
- ☐ Permit pulled and inspections on the schedule
- ☐ Lead-safe practices confirmed if the house predates 1978
- ☐ Temporary kitchen set up; floors and doorways protected
- ☐ Daily clean-up and communication agreed
Rough-in and inspections
- ☐ Outlets and appliance circuits walked and confirmed
- ☐ Hood or exhaust fan vented outdoors
- ☐ Lighting plan installed in layers
- ☐ Water and gas stubs placed to the appliance specs
- ☐ Blocking in place; every open wall photographed
Finishes
- ☐ Countertop material, edge and sink chosen before cabinet order
- ☐ Cabinets installed level before countertop templating
- ☐ Backsplash, fixtures, appliances and hardware installed
Handover
- ☐ Walkthrough done and punch list written
- ☐ Manuals, warranties and finish names collected
- ☐ Final payment released after the punch list is complete
Planning a kitchen with Domus Built
We describe kitchens and baths as the rooms where craftsmanship is most visible, and we treat them that way. Our in-house team carries a kitchen from consultation and a detailed proposal through construction and handover.
If you are starting to plan, learn more about our approach to kitchen remodeling in Charleston, or tell us about your kitchen and we will walk through your checklist with you.